Vertical vs Horizontal Cladding: Which Suits Your Adelaide Home?
The short answer
Vertical vs horizontal cladding is not just a look. The two orientations rely on different batten layouts and drainage-cavity details behind the boards, and pairing the wrong batten direction with the wrong orientation is one of the more avoidable ways moisture ends up trapped against the frame. Aesthetic preference matters, but the batten direction, cavity design and coastal exposure of the site should decide which orientation goes on an Adelaide wall—not the other way around.
Vertical vs horizontal cladding: what actually differs
Horizontal cladding—weatherboard profiles such as James Hardie’s Linea range, timber boards, or lapped fibre cement sheets—sheds water down the face of each board and over the top of the one below it, in the same direction the boards run. The drained cavity behind it is formed with battens fixed vertically to the studs, letting water and air move straight down the cavity and out at the base of the wall.
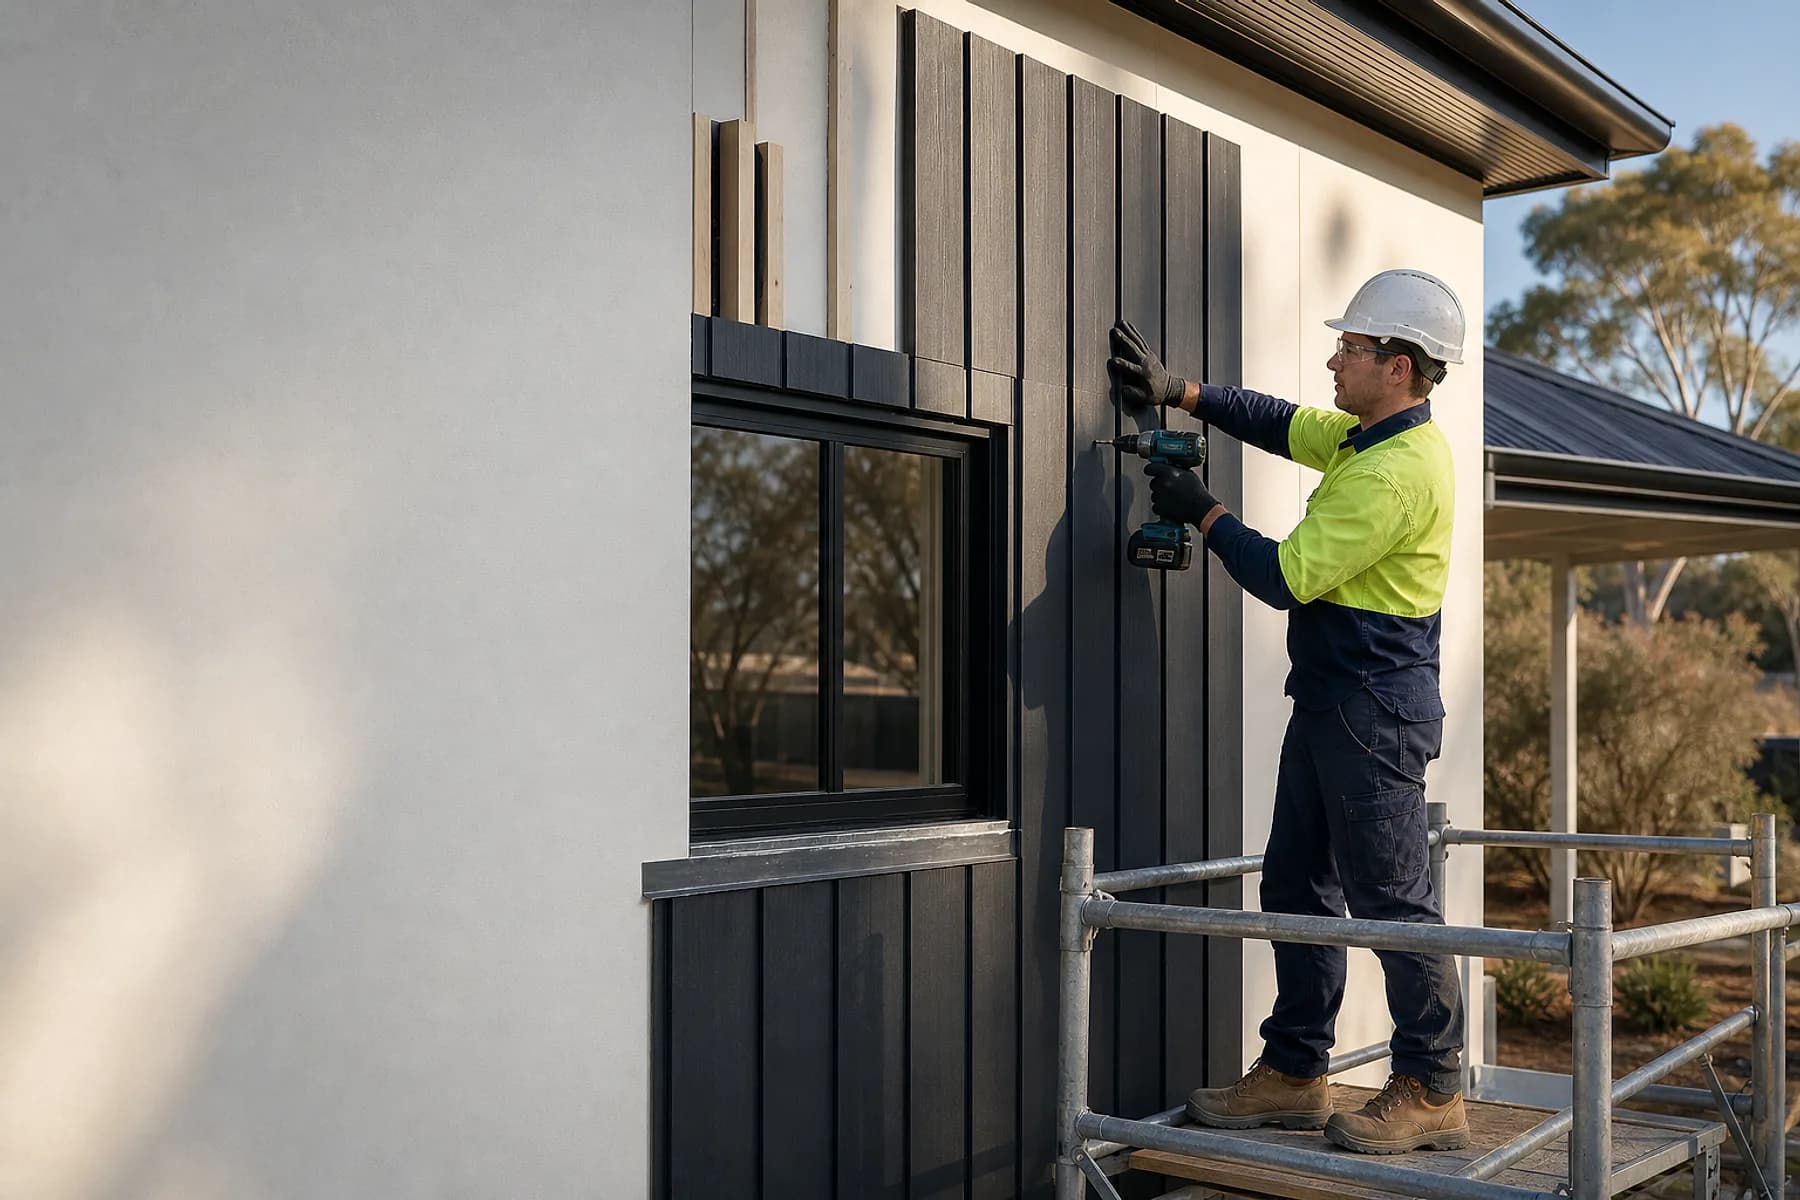
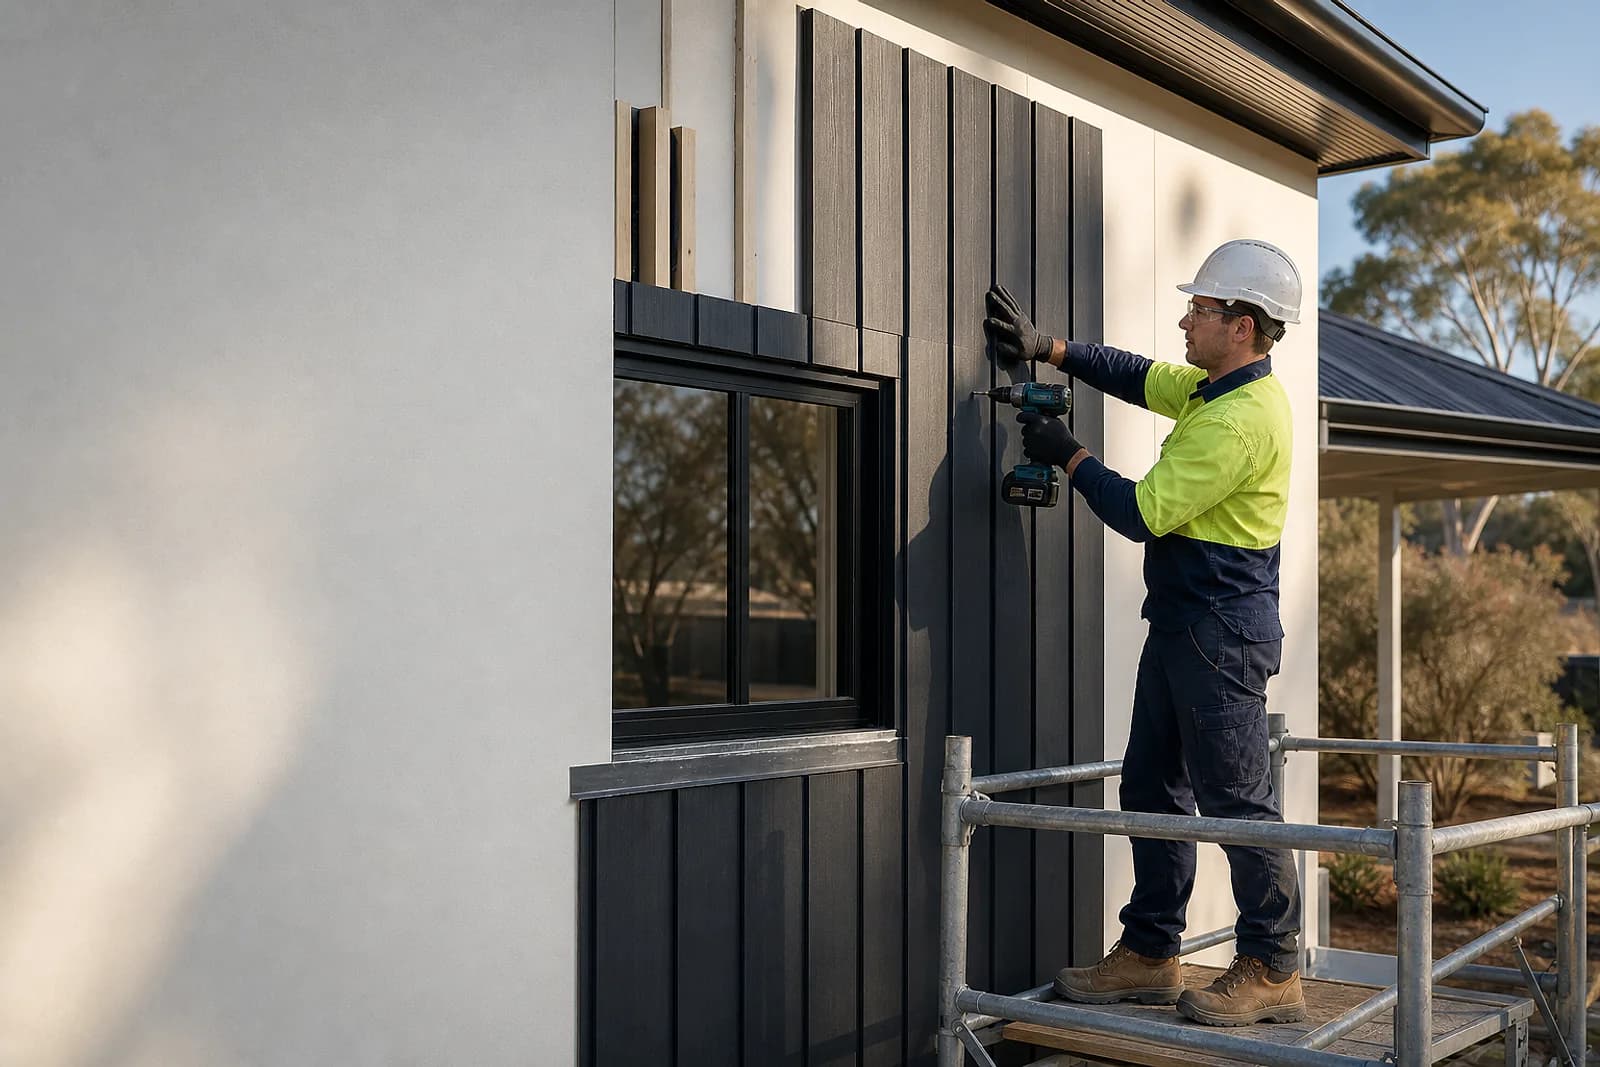
Vertical cladding, such as James Hardie’s Scyon Axon panel system, runs the opposite way. Because the boards themselves don’t lap water downward the way weatherboard does, the cavity behind them needs battens fixed horizontally—and those battens have to be notched or castellated so moisture inside the cavity can still travel down and out, rather than pooling on top of a solid horizontal batten. James Hardie and the Forest & Wood Products Australia (FWPA) cladding standard both document this: a horizontal cavity batten sitting behind vertical boards needs a shaped profile specifically so trapped moisture and air keep moving.
Sources: James Hardie, Axon Cladding Installation Guide (PDF) and FWPA, Design and Installation of Exterior Timber Wall Cladding (PDF).
Batten direction and the drainage cavity
This is the detail that actually separates vertical vs horizontal cladding on a real Adelaide job, more than the visual style does. Get the batten direction wrong—for example, horizontal battens fixed behind horizontal weatherboard, instead of vertical ones—and the cavity can’t drain the way it’s meant to, which is exactly the moisture-trapping problem a ventilated cavity exists to prevent.
Cemintel’s cavity wall cladding documentation for fibre cement sheet systems sets out the same principle from the manufacturer side: cavity battens, sized and fixed to a documented minimum face width, create the ventilation and drainage path behind the sheet, spaced to match the fixing pattern for the product and the site’s wind classification. The exact batten spacing, size and fixing schedule sit in the installation guide for the specific system chosen, not in a general rule of thumb that applies to every product.
- The orientation and profile shown on the approved drawings
- Whether the cavity battens are the correct profile for that orientation—vertical for horizontal boards, notched horizontal for vertical boards
- The batten spacing and fixing schedule set against the site's assessed wind classification
- How the cavity drains and vents at the base of the wall and around openings
Source: Cemintel, Cavity Wall Cladding Systems (FC:152) (PDF).
Coastal salt exposure near Adelaide’s beaches
Suburbs close to the coast—Semaphore, Grange, Henley Beach, Glenelg and Brighton among them—put fixings and cavity components under more corrosive load than an inland Adelaide suburb of the same age, regardless of which way the boards run. Manufacturer installation literature for both vertical panel systems and horizontal weatherboard sets a minimum corrosion-resistance class for fasteners generally, stepping up within a defined distance of the coast or in other corrosive environments.
A vertical system can be marginally more exposed at the top of each cavity batten run, where moisture inside the cavity has further horizontal travel before it reaches a drainage point—one more reason the batten’s exact profile and spacing, not just its material, needs to match the documented system for the property’s actual distance from the coast.
Source: James Hardie, Axon Cladding Installation Guide (PDF).
Reactive clay soils, movement and joint lines
Much of the Adelaide plains sit on reactive clay that swells and shrinks with soil moisture across the seasons, and that ground movement eventually shows up at the wall. Horizontal cladding tends to hide a small amount of frame movement reasonably well along a continuous run of boards. Vertical cladding shows movement differently, concentrated at the sheet joints and control joints running up the wall, where consistent spacing and flashing detail matter more visibly.
Neither orientation avoids the need for documented control and movement joints. The frame, the footing system and the cladding manufacturer’s joint spacing all need to agree, and that is a design decision to confirm on the drawings before installation begins, not one to adjust on site.
What to confirm before you choose a direction
A useful vertical vs horizontal cladding decision rests on project-specific documents, not a general comparison. Before committing, confirm the following with the designer, supplier or building surveyor.
Confirm the wind classification for the site
Batten spacing and fixing schedules for both vertical and horizontal cladding are set against the site’s assessed wind classification, not a standard default.
Match the cavity batten profile to the orientation
Horizontal cladding needs vertical battens; vertical cladding needs a horizontal, notched or castellated batten so the cavity still drains.
Confirm the coastal fastener class
Check the manufacturer’s coastal distance and corrosion-class requirements against the property’s actual distance from the coast.
Check whether council or PlanSA approval applies
Changing the visible exterior cladding on an existing building, including switching its orientation, can require development approval depending on the property and the work; confirm this on the PlanSA portal or with the local council before ordering material.
Confirm the complete wall build-up
Sarking, cavity depth, battens and cladding all need to be documented together, because a good product on the wrong batten layout still fails to drain properly.
Our project-planning guide covers the wider information that helps turn an early cladding question into a clear installation scope.
Source: PlanSA, Getting approval.
Common questions
- Is vertical cladding more expensive than horizontal?
- Material and labour costs depend on the specific product, panel size and site access, not the orientation alone. Ask for a quote against the documented system rather than assuming one direction costs more.
- Can vertical and horizontal cladding be combined on the same house?
- Yes—many Adelaide façades mix orientations as a design feature, provided each section’s cavity, battens and flashing are detailed for the orientation used in that section. The junction between the two needs its own documented flashing detail.
- Can Elite Surface Group choose the orientation for us?
- No. Orientation is a design decision made with the architect, designer or drafter, usually shown on the elevations. We install the documented cladding and cavity system once that decision, and the supporting drawings, are confirmed.
Sources and further reading
- James Hardie
- Axon Cladding Installation Guide (PDF) and Linea Weatherboard product information
- Forest & Wood Products Australia
- Design and Installation of Exterior Timber Wall Cladding (PDF)
- Cemintel (CSR)
- Cavity Wall Cladding Systems (FC:152) (PDF)
- PlanSA
- Getting approval